


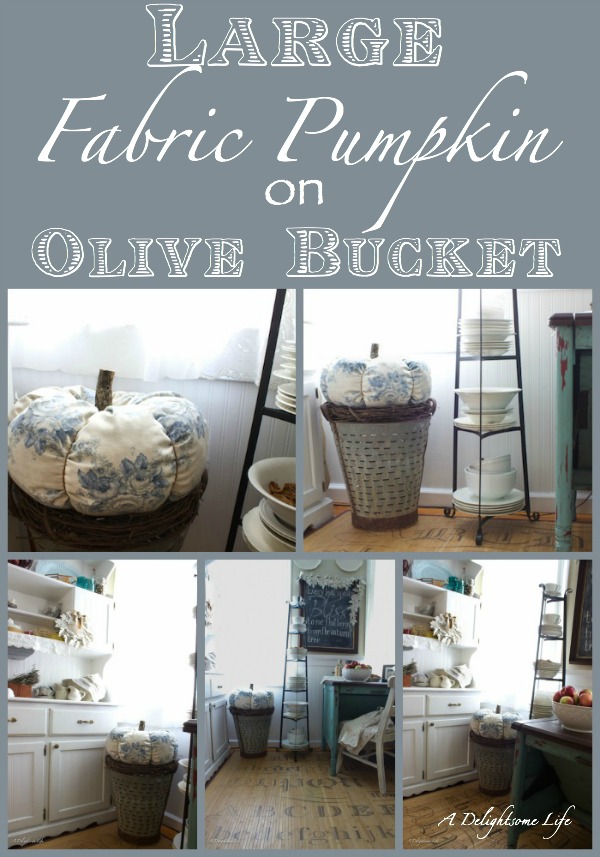
I can’t resist! It’s The Great Pumpkin Charlie Brown!
I kept thinking that as I was conceiving the idea, taking measurements, sewing and stuffing (which was hilarious) and finishing this large blue and white fabric pumpkin. I was so excited when it worked out.
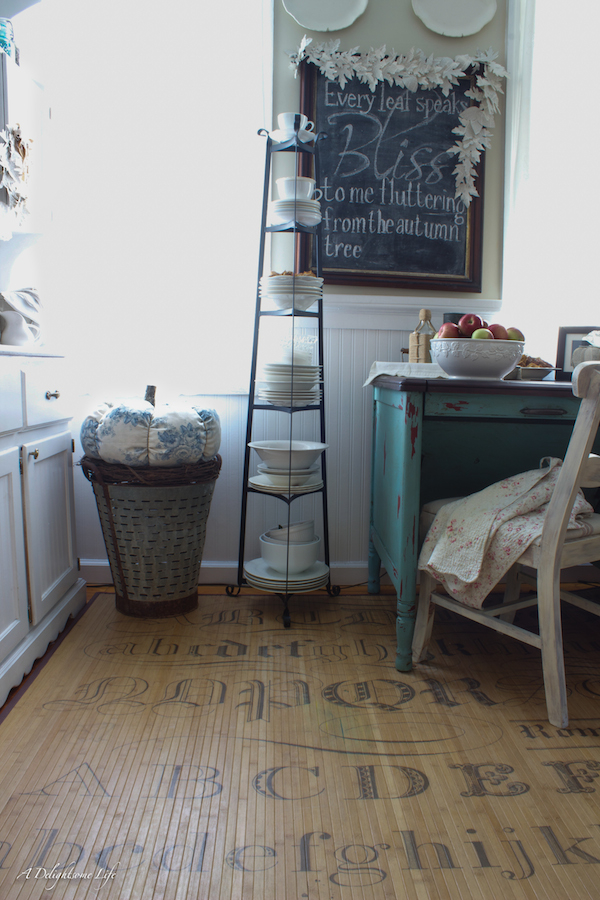
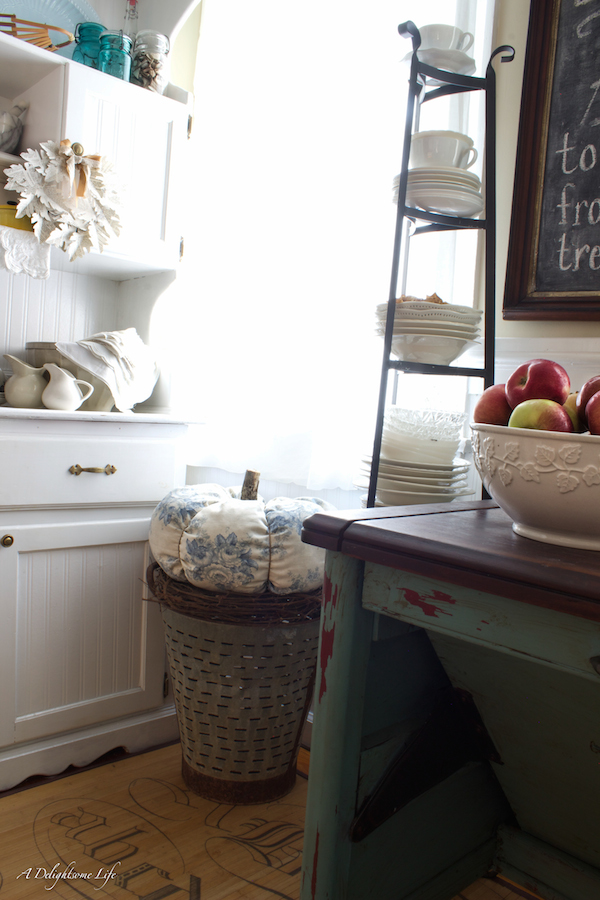
How to Decorate an Olive Bucket
This is a question that can be answered in so many ways. That’s what I was contemplating for my autumn decor as I kept looking at it. Then after I made the French Stamp pumpkins – I had an aha moment. Make a pumpkin large enough to sit on the top of the bucket! The dimensions needed were 52 inches long and 26 inches high.
Choosing The Fabric
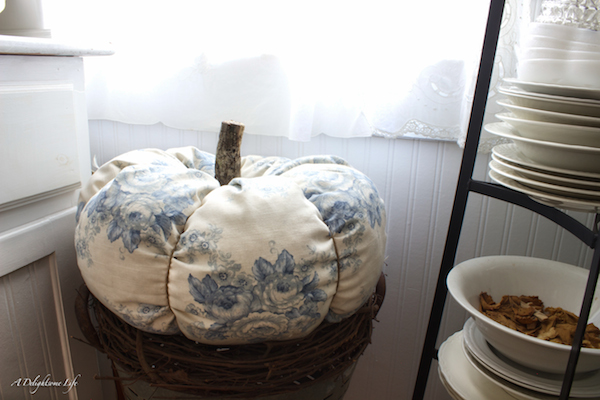
I wanted to keep the subtle soft tones I’d achieved with the Book Page Leaf Crafts in the kitchen. I love this Laura Ashley English Country Blue Rose fabric. The measurements I needed to make this pumpkin large enough was 52 inches in lenght and 26 inches in height. If you want to know the step-by-step on how I made these fabric pumpkins, you can go here.
Choosing the Pumpkin’s Stuffing

You can use batting for making pumpkins. I wanted something soft so that I could bring the top and the bottom of the pumpkin together to bring the needle through to make the pumpkin’s ridges. So I chose feathers. This is where the hilarious part comes in. I had an old standard sized feather pillow that we no longer used. There’s always an alternative use for something! So once I made the large pillow pouch, I opened the old pillow and began to transfer all of the feathers to the pumpkin. At the end it looked like I’d plucked a bird – feathers flying and surrounding me. But it did work!
Making The Great Pumpkin
I chose to use twine to make the pumpkin sides again – this works nicely. The part that was a little difficult was finding a step from a branch piece large enough and light enough to sit atop the pumpkin. I found a branch about twice what I needed and began to saw with my garden the part I wanted for the stem. I kept at it for a while – the center was tough then I realized I was making it hard on myself – I had loppers! That did the trick! Attaching the stem is different than the smaller pumpkins. It’s easy attaching with hot glue – a good sized dollop of glue on the smaller ones and your done. With this pumpkin, the opening was a bit bigger and then there were those feathers – I ended up by gluing the stem at the edges of the branch to the fabric directly all the way around. Don’t pick this pumpkin up by the stem!
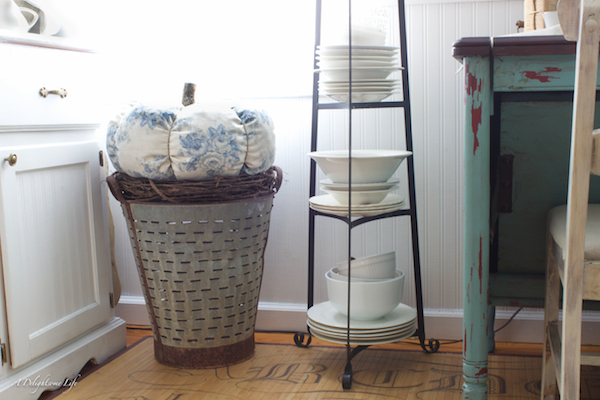
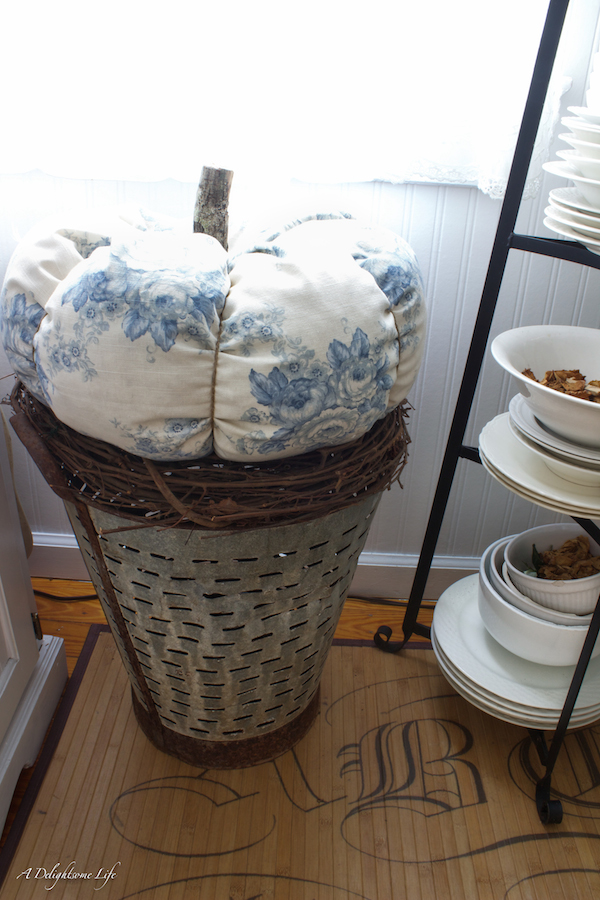
Giving it Some Lift
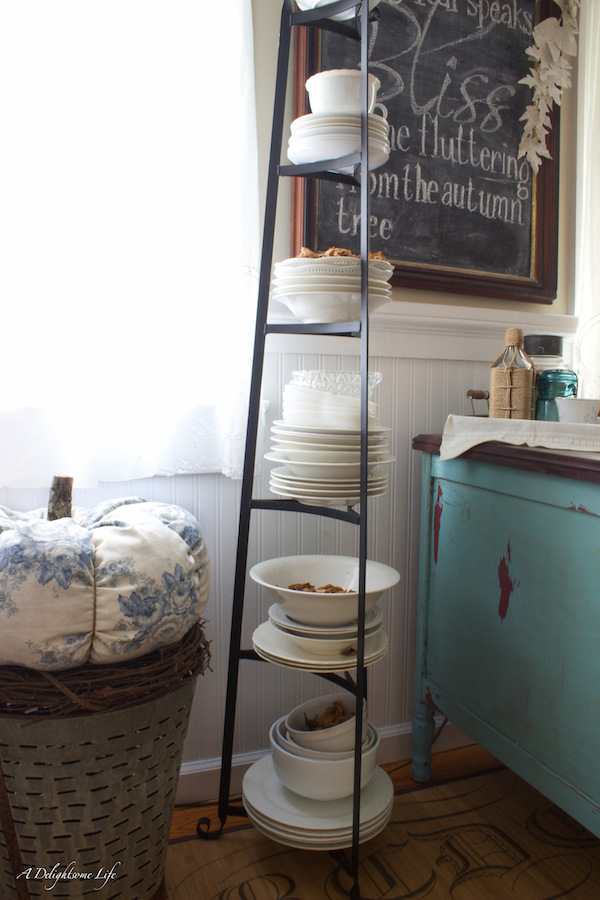
The pumpkin fit just perfectly atop the olive bucket – but I wanted a little more height. So I added a grapevine wreath – fits nicely and then set the pumpkin atop! Voila! My great big pumpkin. Now I and you know it is possible to make these fabric pumpkins in whatever size we wish!
Have You Been Inspired to Create Fabric Pumpkins?
If you have I would love to see what you’ve created and how you use them to decorate. These are so fun – I know I’ll make more!
I am sharing this post with these Delightsome blog parties:
Share it Saturday Share it One More Time Strut Your Stuff Inspiration Spotlight Party Junk A Bouquet of Talent Nifty Thrifty Sunday


