Transforming a Traditional Couch…
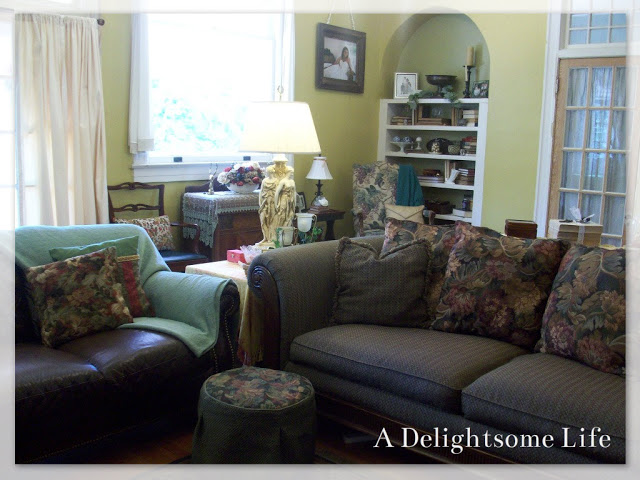
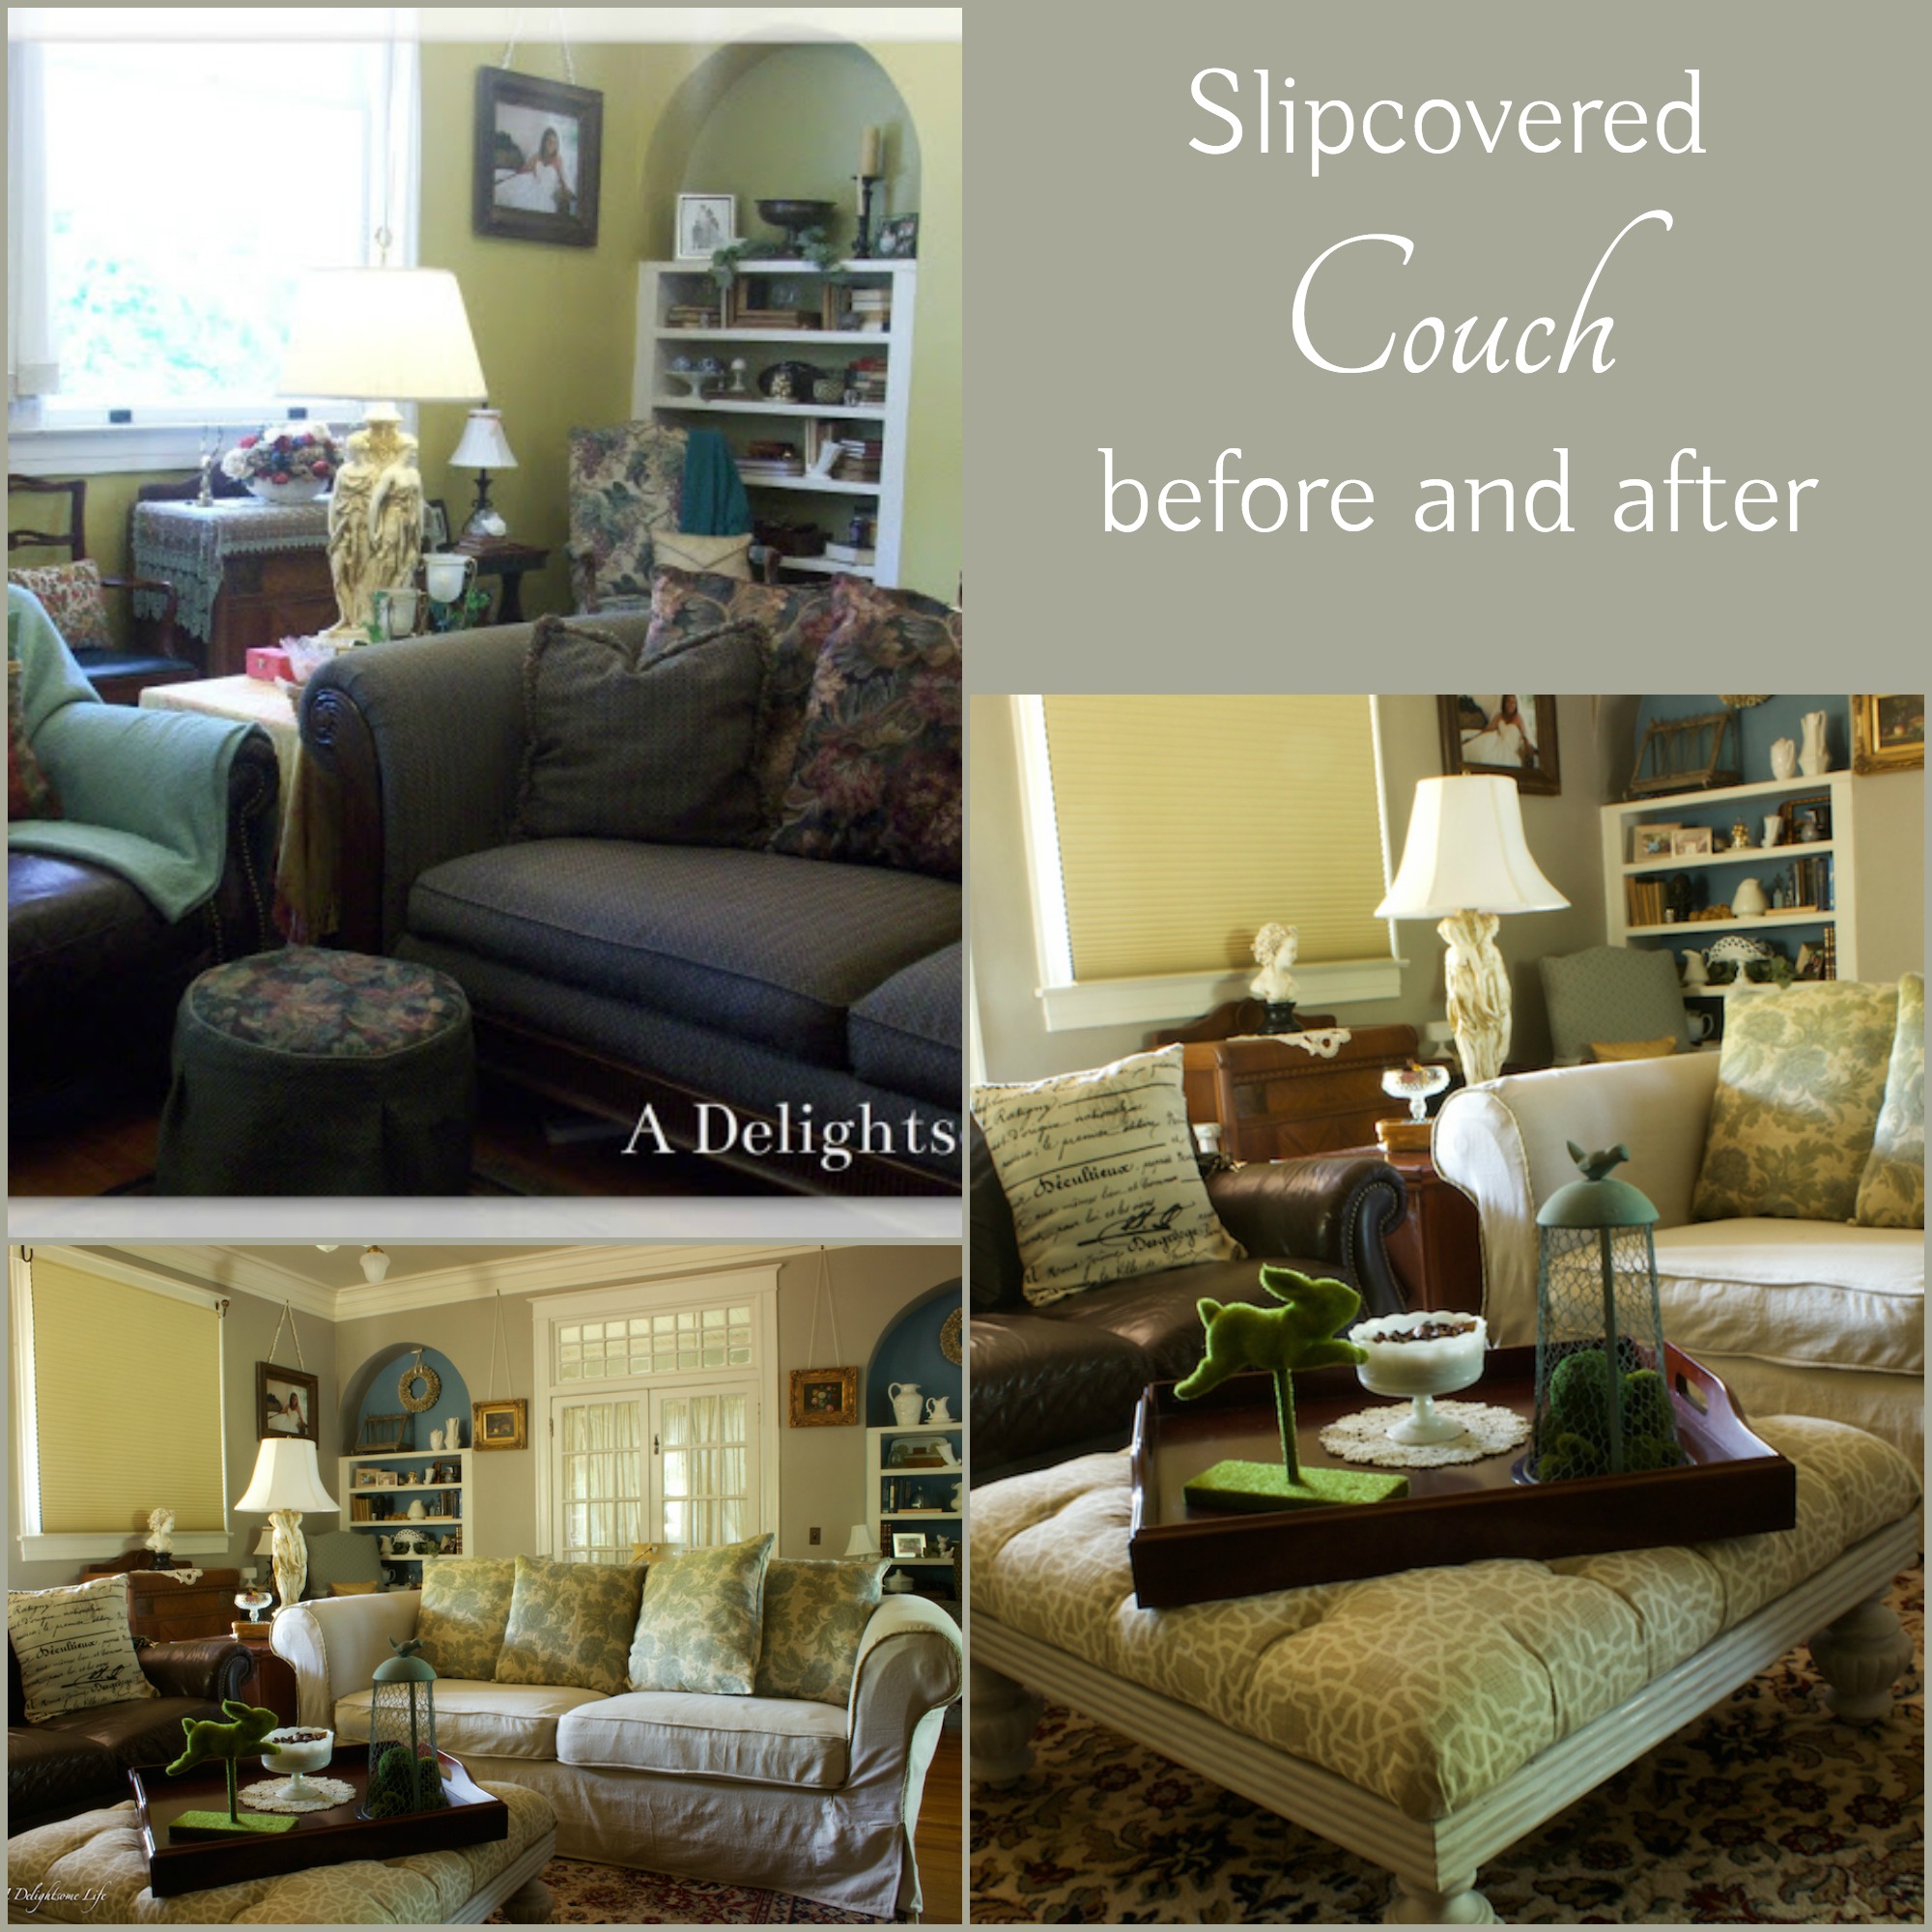
before
Dearest and I have had this couch for years. It has held up through all of the children, lots of naps, lots of company – anything a family can throw at it. Before, it worked quite well with the English Cottage decor theme, but now…Now that I’ve changed the wall color and color scheme, the couch needs a transformation into a slipcovered couch.
Fabric Choice
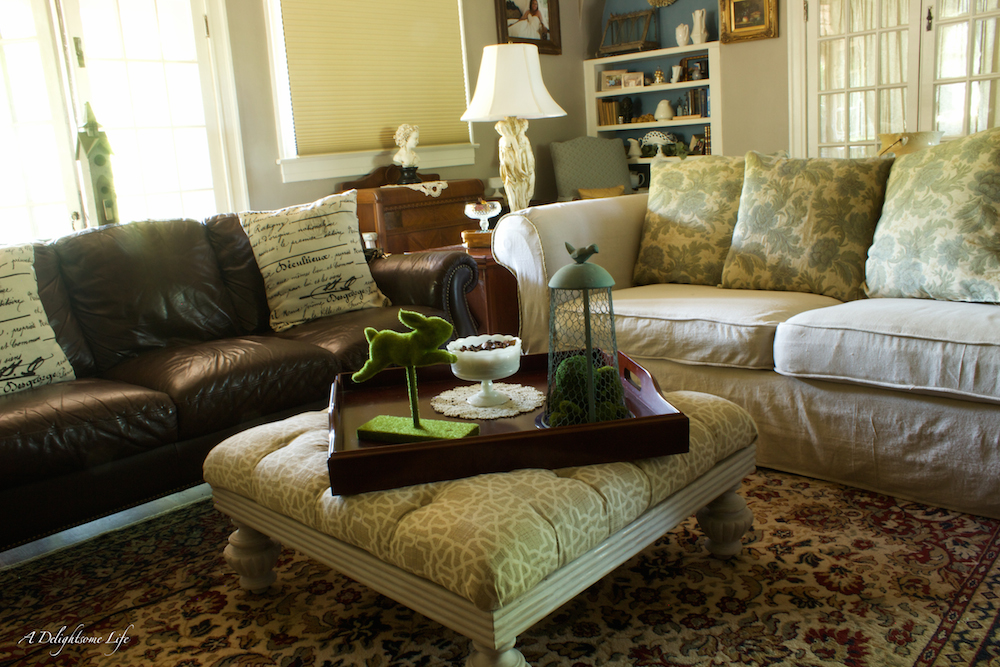
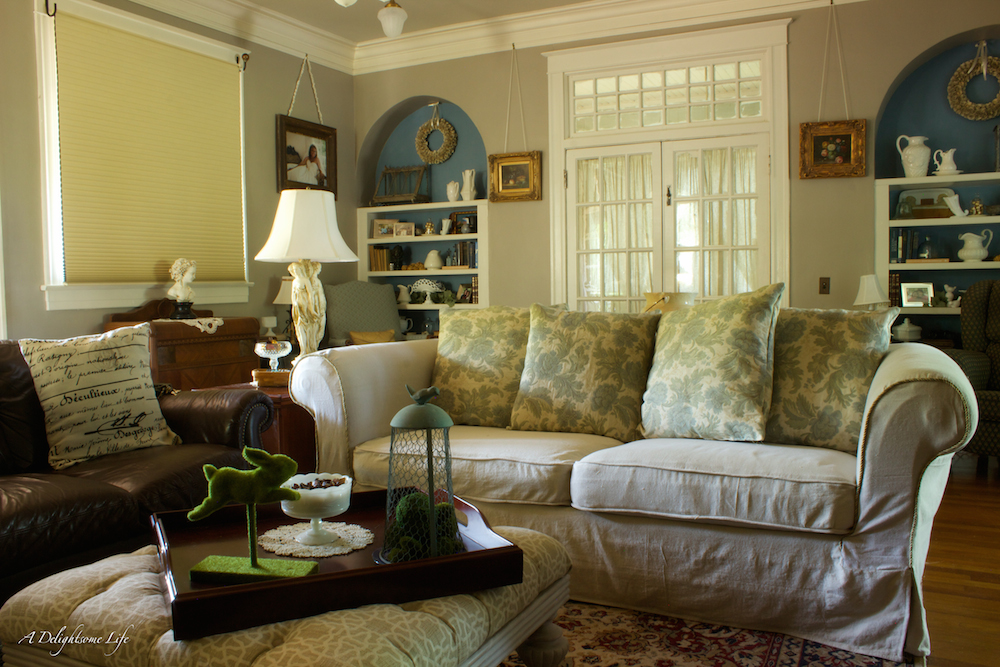
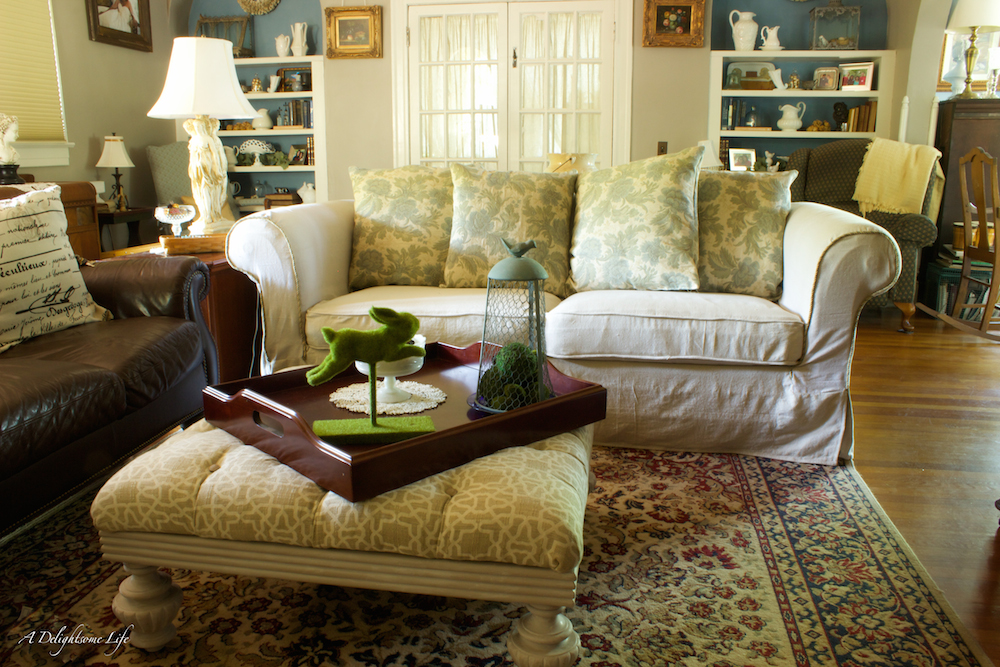
after
I spent some time selecting fabric for the living room…I chose neutral fabric with a little blue and beige woven in. But, when I arrived home, I wasn’t quite pleased with the look and the texture of the fabric. The couch would be used a lot. I turned to fabric, that is often used to slipcover furniture – dropcloth.
Yes, Drop Cloth
Dearest was skeptical. He didn’t know that drop cloth is well known and well used to slipcover furniture. Not only that, but after washed, it becomes a wonderfully touchable fabric. Once I decided upon drop cloth the rest was relatively easy.
How to Slipcover the Couch
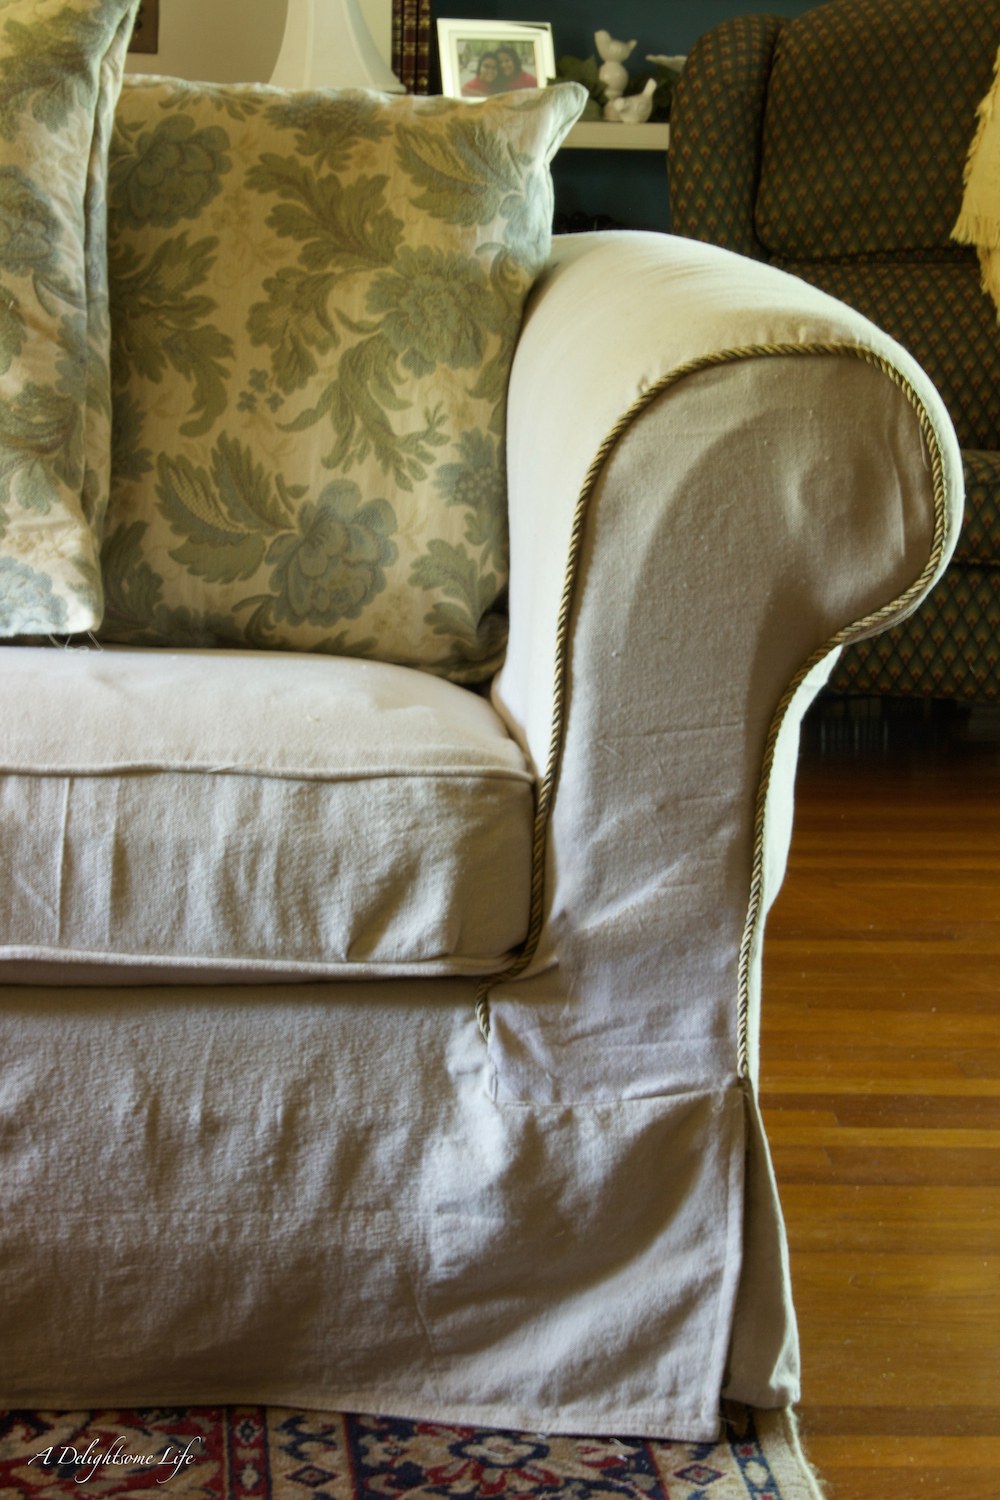
I began with the back. I decided that to add velcro at the back – this would be connected to the sides that would wrap underneath the back by two inches. Then I measured the front. I sewed those two pieces together. I measured and cut two pieces for the arms. One pied went over the arm and the other along the arm’s side. I attached those pieces to the back/front. Then the front of the curved arm. I decided to add a bit of decorative piping. This would complement the pillows…yet to come. The only other part I used piping for were the two cushions. I used velcro in the back of the cushions to secure the fabric. It’s pretty easy and you can see wonderful tutorials here.
The Pillows
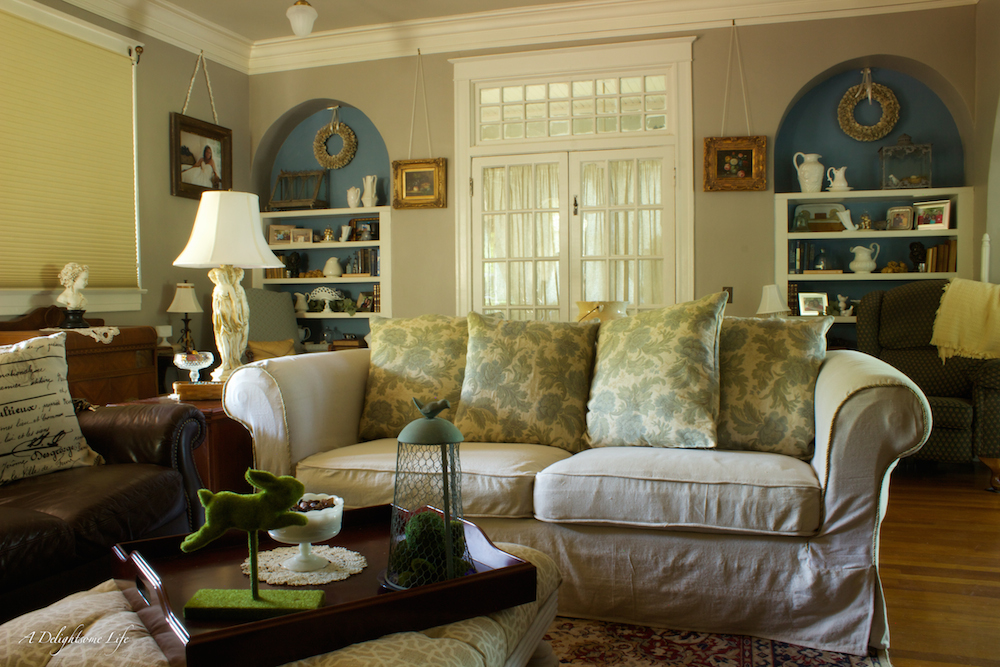
The original pillows showed the most wear from all of the years of the children and pets cuddling on them. I chose to purchase four euro square pillows. I used the blue floral fabric I initially chose.
The Room’s coming Together
I’m nearly there! The projects I’ve completed are: painting the walls, recovering chair cushion, re-upholstering chair, painting bench, painting table, recovering the ottoman. I have a few more projects to then be able to show you the whole room reveal. From English Country to French Country…I’m loving the serene new look.